
Transferring land titles from seller’s name to buyer’s name has been part of my work as a real estate salesperson.
In this blog, I share my practical experiences and insights to help you save time and avoid mistakes.
I created this blog to remind myself, master the process, at the same time, help others who will buyer a property from me or process the same transaction.
Prevailing Practice
Capital Gains Tax (6%)
Unpaid RPT/Amilyar (if applicable)
Broker’s commission (3-5% negotiable)
To be shouldered by the buyer:
Documentary Stamp Tax (1.5%)
LGU Transfer Tax (0.5-0.75%)
Notarial Fee (1-2% negotiable with the lawyer)
Registration Fees (around 0.25-0.75%)
Incidental/Miscellaneous Fees
Vat (12% kung above VAT threshold and ordinary asset, usually kasama na to sa price as advertised)
Step 1: Prepare Necessary Documents
- Certified True Copy of the Title. If you are considering to buy a property or act as an agent of selling other people’s property, I recommend to get a Certified True Copy from the Registry of Deeds. The purpose of this is to know whether or not the property is under mortgage, or already sold to others, or has other encumbrances. As of June 2023, I paid P500 to get this. The Supreme Court says, “It is a well-established principle that every person dealing with registered land may safely rely on the correctness of the certificate of title issued and the law will in no way oblige him to go behind the certificate to determine the condition of the property.”
- Land tax/ Real Property Tax. Make sure the land tax is fully paid. To pay, you can ask the details from the developer/city assessor’s office and pay through the bank.
- Land Title under Seller. Make sure the land has been fully paid by the seller from previous seller, or developer, in any; Balances and other obligations are settled.
- Certificate of No Improvement: If you are transferring lot only, secure a certificate of no improvement from the City/Municipality Assessor’s office. If you are only requested by the owner, secure an SPA, the official receipt of the updated Real Property Taxes, and Tax Certificate.
Step 2: Authorizing Documents
If the owner/seller is in the Philippines, he may execute a Notarized SPA (p1 p2) appointing a specific person to sell and process the documents for him; Be specific as to what authority will be delegated to him.
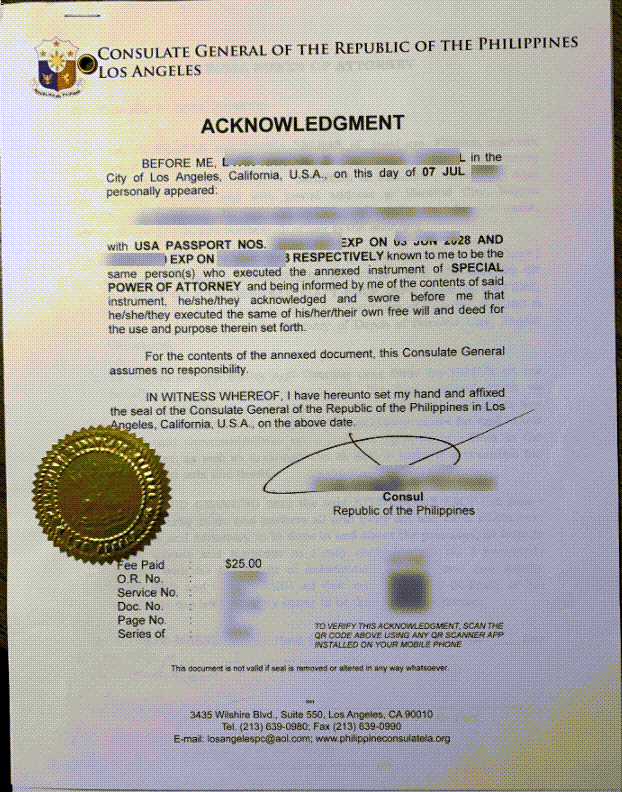
If the owner is abroad, and is still a Filipino Citizen, he may execute a Consularized SPA. He must go to the Consulate General of the Philippines of the state/country he is at. Then, he mails it to to the person in the Philippines whom he will entrust to process the transfer.
The following can be delegated authorities:
- signing documents
- receiving the payment
- paying the capital gains tax, property taxes.
If the seller/owner is a foreign Citizen, he may execute an SPA in the foreign country and have notarized or Apostilled.
If you are the agent/processor, make sure you have a written agreement with the owner stating your authority to sell and your commission.
Step 3: Contract to Sell

In a contract to sell, the prospective seller binds himself to sell the property to seller.
It binds the seller that he will convey the property exclusively to the buyer upon the fulfillment of the condition agreed upon in the CTS (which is full payment of the purchase price).
While the price is not yet paid in full, the owner reserves to himself the ownership of the subject property even the buyer may have the property under his possession.
This document may contain the following:
- The Total Contract Price (TCP) – this may also be called as:
- Transaction Price
- Actual Price
- Earnest money that the buyer must give to the seller so that the property will be reserved exclusively for him for a period of time;
- Schedule of payments – the dates and the sum of money that the buyer must pay;
- Persons responsible to pay necessary fees. The following are the standard obligations of each party:
- Seller pays Capital Gains Tax, updates the Real Property Tax, and pays the Broker’s Commission;
- Buyer pays Documentary Stamp Tax (around 1.5% of TCP), Registration Fee and Expenses (~1% of TCP), and Transfer Fee (~0.75% of TCP)
- Grace period/terms if the buyer won’t be able to pay on time
- Conditions if the buyer will be considered at default
- Among others
Step 3: Deed of Absolute Sale
This is executed by the owner/seller simultaneous to the time of the full payment of the subject property.
What happens during payment?
It is recommended to do the payment inside the bank. The buyer delivers the payment, the seller delivers the signed deed of absolute sale and the original title.
Step 4: Pay Taxes and Fees
A. Pay Capital Gains Tax
What is the rate and basis of the Capital Gains Tax?
6% Sec. 24(D) NIRC – if the property is a capital asset of an individual, the CGT shall be whichever is higher between the gross selling price or the current fair market value (FMV).
The FMV is determined by either the Commissioner of Internal Revenue (Zonal Value) or the Provincial or City Assessor (Assessed Value). The assessed value is also the basis of the tax declaration.
B. Doc Stamp Tax
Who pays DST?
If there is no stipulation or agreement, it shall be borne by both buyer and seller.
By standard practice, it is agreed and paid by the buyer.
- 1.5% of the Total Contract Price (Consideration) or the Fair Market Value whichever is higher
- Use the BIR eFPS. Print the form and bring to the bank.
- Pay through accredited bank using the designated BTR-BIR deposit slip
After filing the return (as seen below), within five (5) days after the close of the month.


Step 5: Office of the City Assessor
This is usually done in your city or municipal hall/government center.
Below are the sample pictures of the requirements asked by the City Assessor:
1. CERTIFIED COPY OF TITLE
Make sure you submit a certified copy of the title. In my case, I had a certification from the LRA that it is a faithful reproduction of the original copy. Others call this a CTC or Certified True Copy.

2. Tax Certification or Clearance
Important part: “This is to certify that the real property/properties declared in the name of x x x appears in the record of this office, as indicated hereunder: x x x It is further certified that the real property taxes due on the aforementioned real property/ies is/are fully paid, including the previous years’ taxes up to the calendar year specified above.”
3. Transfer Tax Assessment and receipt
This was the last part of my process in the city hall. After the assessment, I paid directly at the city’s cashier window.
Rate of Transfer Tax: 0.75% to 1% (Varies depending on the Zoning)
1% Registration fee (ROD)
Total is more or less 3.25% to 3.75% (inluding DST)
General Rule: Shouldered by the buyer. Except when parties agree otherwise.
4. Certificate of No Improvement
Secure this if you are transferring/selling a lot only.
Step 6: BIR ONETT (OSG)
A. Requirements for Submission

B. Requirements for Claiming

Step 7: Register of Deeds
1% Registration fee (ROD)
Total is more or less 3.25% to 3.75% (inluding DST)


